A. Selection Of Materials
Power Threading Machine Threading Rachet and Pipe Vise (if hand pipe stock is used) Pipe Dies designed for plastic Strap Wrench Teflon* Tape or an approved Teflon Paste Cutting and Deburring Tool Ring Gauge (L-1).
Power Threading Machine Threading Rachet and Pipe Vise (if hand pipe stock is used) Pipe Dies designed for plastic Strap Wrench Teflon* Tape or an approved Teflon Paste Cutting and Deburring Tool Ring Gauge (L-1).

1. Cutting And Deburring :
PVC or CPVC pipe should be cut square and smooth for easy and accurate threading. A miter box or similar guide should be used when sawing is done by hand. Burrs should be removed inside and out using a knife or plastic pipe deburring tool.

2. Threading :
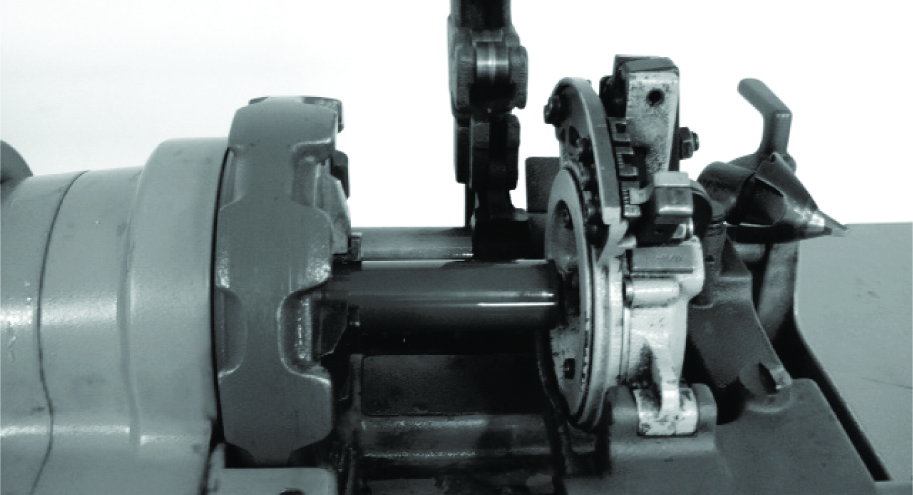
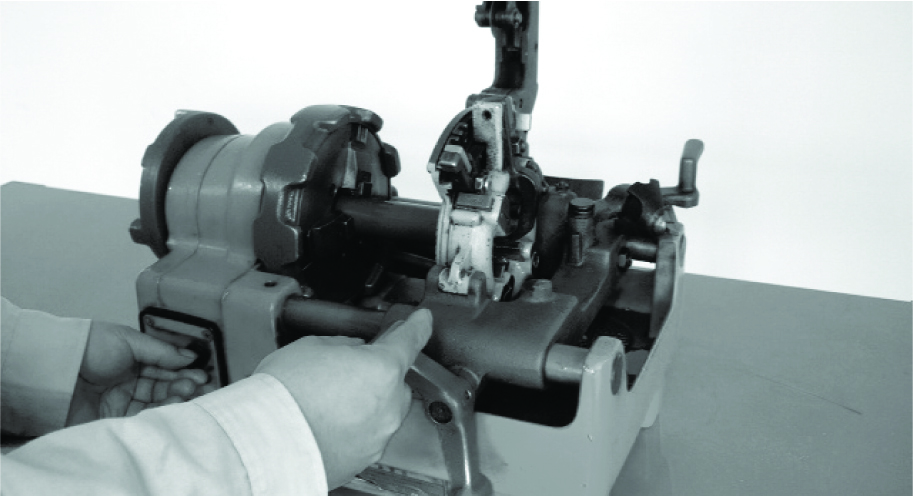
Threading Schedule 80 PVC and CPVC pipe can easily be accomplished using either a standard hand pipe stock or a power-operated tool. Cutting dies should be clean and sharp. Power threading machines should be fitted with dies having a 5negative front rake and ground, especially for plastic pipe. Self-opening die heads, and a slight chamfer to lead the dies will speed the operation; however, dies should not be driven at high speeds or with heavy pressure. When using a handheld cutter, the pipe should be held in a pipe vise. To prevent crushing or scoring of the pipe by the vice jaws, some type of protective wrap such as canvas, emery paper, rubber, or light metal sleeve should be used. For hand stocks, the dies should and CPVC is readily threaded and caution should be taken not to over-thread.
3. Preparing The Threaded Pipe:
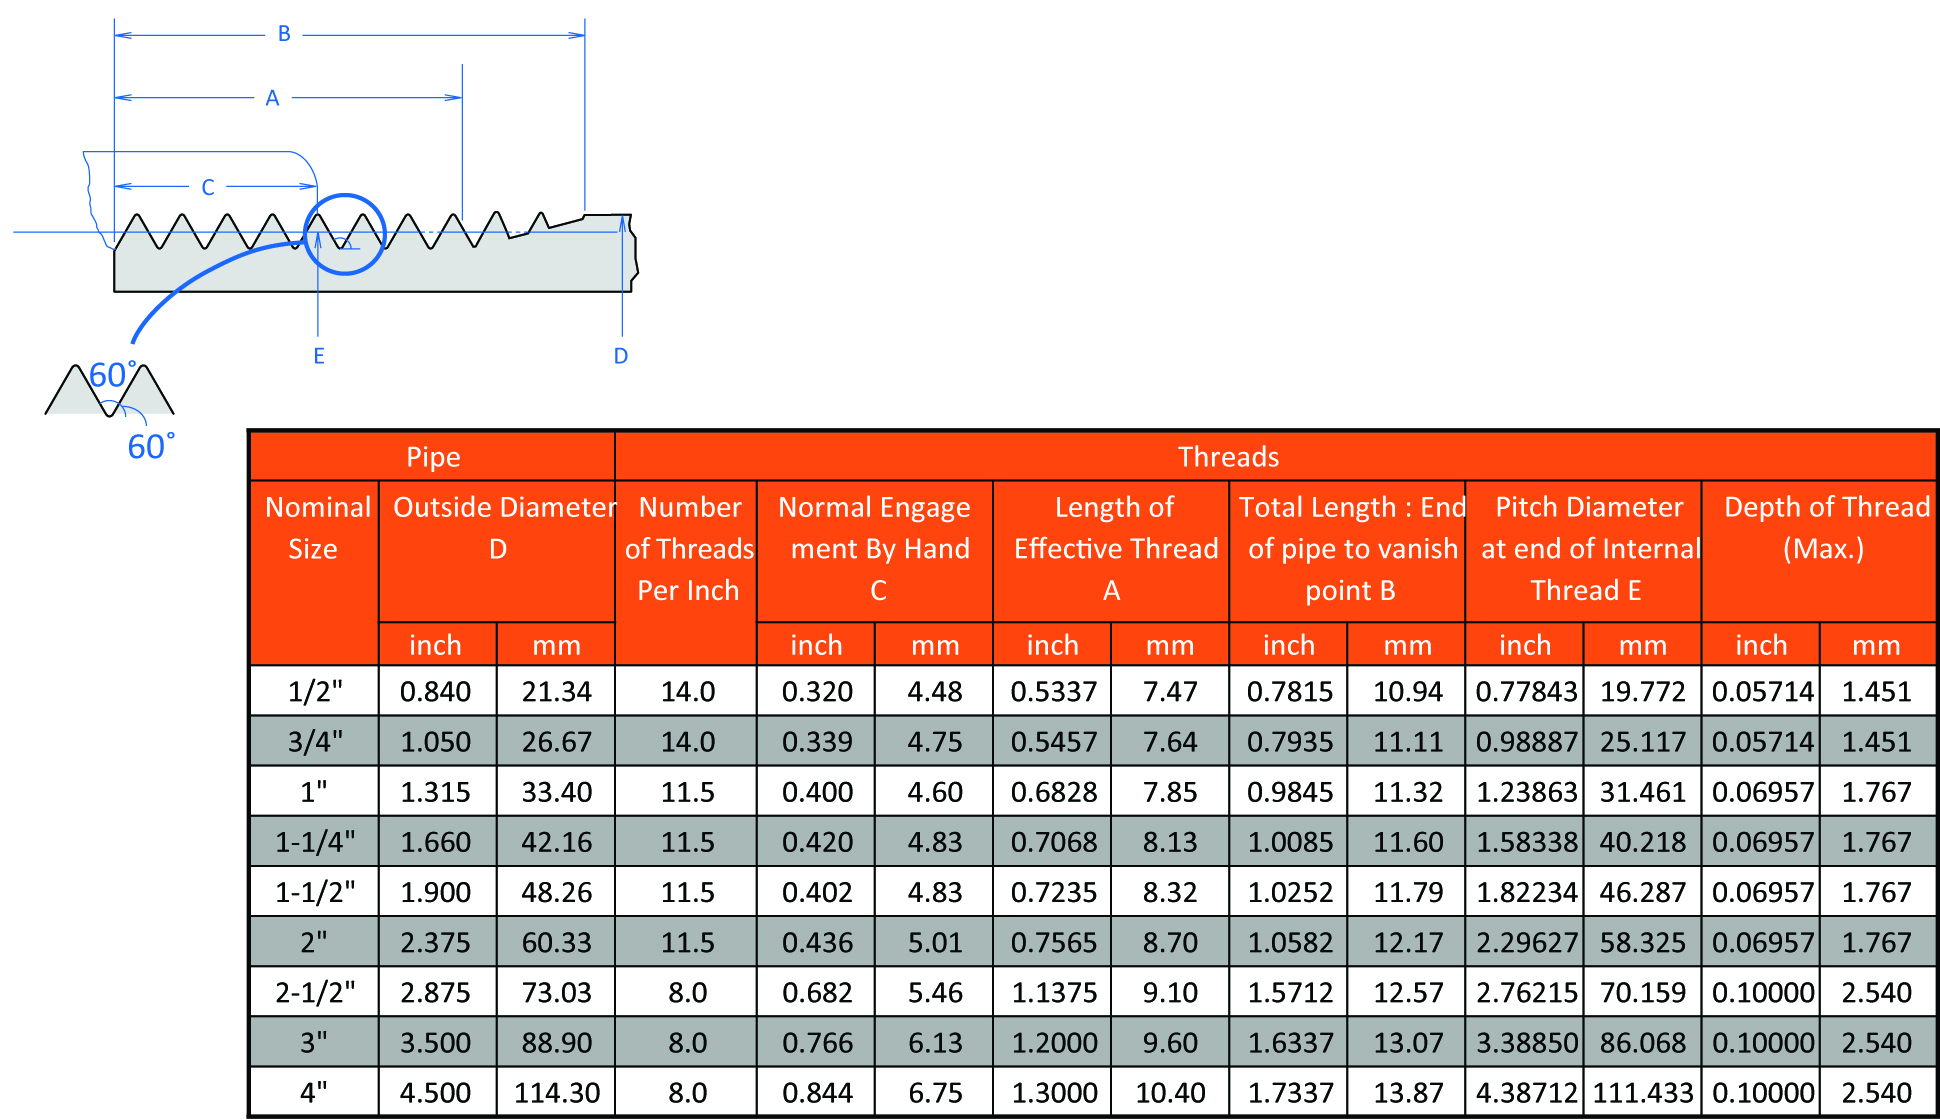
A ring gauge should be used to check the accuracy of the threads. Tolerance = ± 1-1/2 turns. The threads should then be cleaned by brushing away cuttings and ribbons. After cleaning, apply a thread lubricant such as Teflon tape to the threaded portion of the pipe. Wrap the tape around the entire length of threads beginning with the number two thread from the end. The tape should slightly overlap itself going in the same direction as the threads. This will prevent the tape from unraveling when the fitting is tightened on the pipe. Overlapping in the wrong direction and the use of too much tape can affect tolerances between threads. This can generate stress in the wall of female fittings resulting in failure during operations.
4. Assembly Of Threaded Joints:
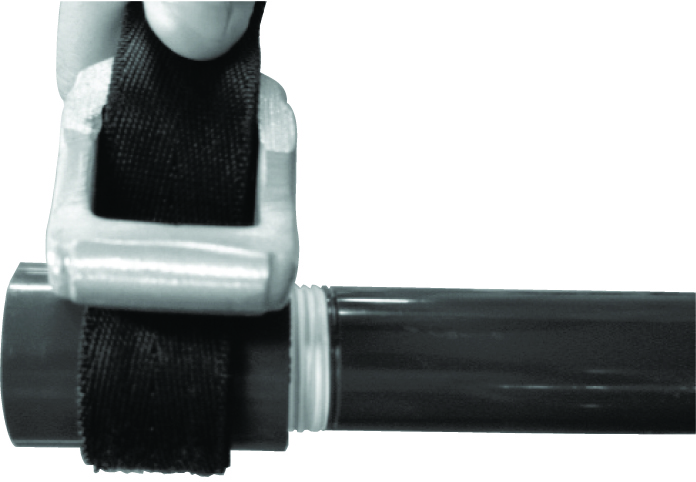
After applying thread lubricant, screw the threaded fitting onto the pipe. Screwed fittings should be started carefully and hand-tightened. Threads must be properly cut and a good quality thread lubricant/tape must be used. If desired, the joint may be tightened with a strap wrench. IN NO CASE SHOULD A STILLSON-TYPE WRENCH BE USED. The jaws of this type of wrench will scar and damage the pipe wall. Fittings should be threaded together until hand tight with an additional 1 to 1-1/2 turns more. Avoid stretching or distorting the pipe, fittings, or threads by over-tightening.
(1) Never apply solvent cement to threaded pipe or threaded fittings. Do not allow cleaners, primers, or solvent cement to “run” or drip into the threaded portion of the fitting.
(2) Some Teflon pastes contain chemicals that may be harmful to the pipe and fittings. You should consult the supplier or manufacturer of the paste before use.
(3) Avoid screwing metallic male threads into plastic female threads. If connections to metal threads have to be made, the preferred method is to screw a plastic male thread into a metallic female thread. There are a variety of plastic fittings that are molded with metallic male or female NPT threaded inserts. The corrosion resistance of the metal insert will have to be taken into consideration Consult the factory or your Eslon salesperson for the availability of these metal insert fittings.

